Getting Started in Rollout Inline
First-hour checklist for Steam Early Access—from boot to your first map level-up.
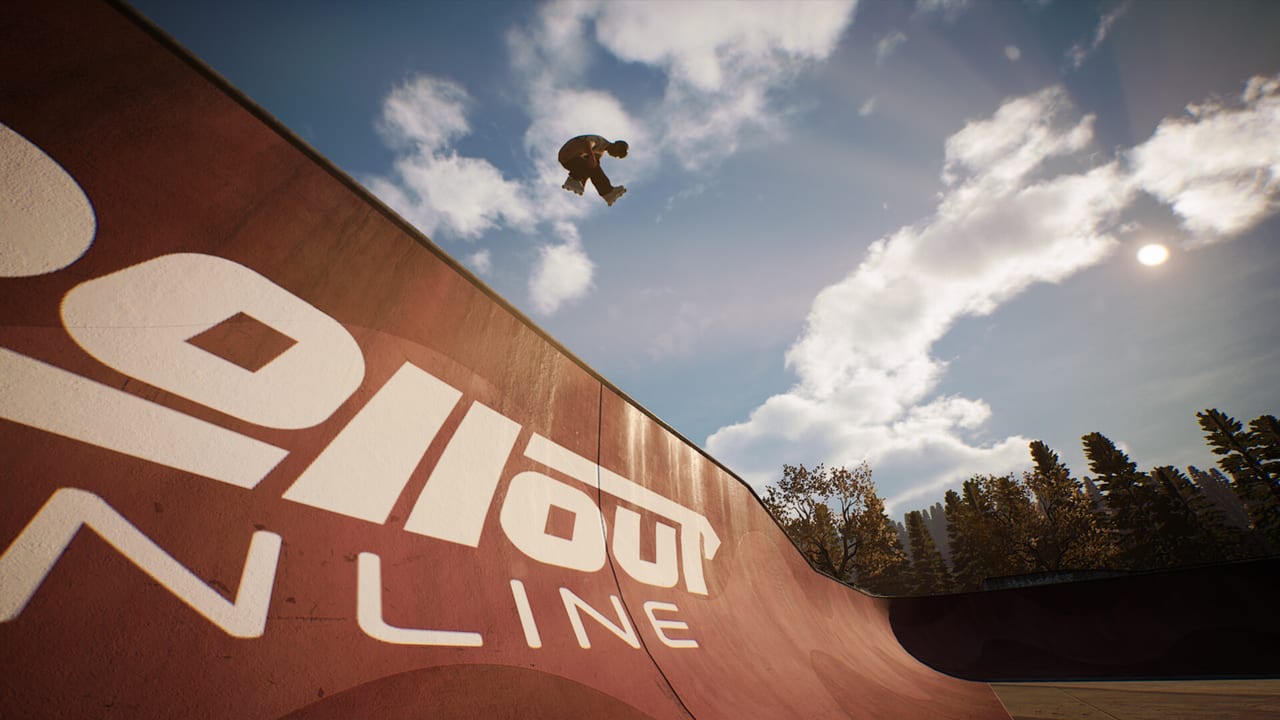
Welcome to Rollout Inline. This getting-started guide assumes you just bought the Steam Early Access build (launched September 15, 2026), have a controller ready, and want a clean first hour instead of face-planting every rail. The game is single-player, English-only in the UI, Steam Deck Verified, and built entirely around pad input—keyboard and mouse are not supported.
Watch the Bosco Weekly gameplay embed above for a feel of grinds, heel rolls, and the three launch maps, then follow the checklist below before you chase stylish lines.
Before you press Start
- Plug in or wake your controller first. The store explicitly asks you to connect the pad before launching. Xbox controllers are recommended for comfort and force feedback. DualShock and DualSense should use USB if wireless feels flaky.
- Confirm Steam Input. If buttons feel dead or inverted, open Steam’s per-game controller settings before blaming the park. Full troubleshooting lives in Controller Setup.
- Target 60 FPS or higher. Rollout Inline plays best at high frame rates because stick timing and landings reward smooth response. Drop graphics settings until you hold a stable 60+. Specs and tuning tips are on System Requirements.
- Know the scope. You get three maps at EA launch, challenges per map, clothing unlocks via progression, and free skate customization anytime. There is no multiplayer lobby to configure.
First 15 minutes in the park
Ignore the hardest challenge pins until your feet feel attached to the skates. Spend the opening session on fundamentals:
- Left stick steers and handles spinning while you ride.
- Right stick jumps.
- Dual-stick input drives grinds and cess slides—each stick represents a foot.
Ride flat ground in big arcs. Practice gentle spins without jumping. Add small right-stick hops and stick the landing with momentum still moving forward. Only then approach a short rail. Commit to a simple grind stance, hold balance, and exit cleanly onto flat. If optional balancing is enabled and it overwhelms you, lower difficulty or toggle balancing off while you learn—both exist to fit different comfort levels.
When something feels wrong mechanically, open Controls instead of mashing stick angles. Alternative spin options in settings can free a stick axis if your hands feel crowded.
First-hour goals that actually matter
Aim for outcomes, not vanity clips:
- Land ten controlled jumps with rolled landings.
- Complete five short grinds without ragdolling midway.
- Exit two grinds into a cess slide intentionally.
- Open the challenge board on your first map and clear the easiest batch objectives you can finish cleanly.
- After a batch clears and the map levels up, replay one earlier challenge for a cleaner line instead of immediately jumping difficulty tiers.
That loop is the heart of Challenges and Progression. Map level-ups spawn harder challenge sets while older ones stay replayable—perfect for practicing style after the unlock pressure eases.
Customization without distraction
Clothing unlocks as you progress. Skates can be customized freely at any time with no unlock gate. Do a quick skate setup that you can read visually (contrasting frames help you see foot angle in replays), then get back to skating. Deep wardrobe theory can wait for Character and Skates.
Use the replay editor when a trick almost works. Scrub the moment your trailing foot left the rail or your spin over-rotated. Early Access is the ideal time to build that self-coaching habit while the move set is still being tuned.
Choosing where to skate next
The three launch maps emphasize different park languages: long rails, gaps, vert ramps, pools, and mixed lines. After your first batch, skim Maps Overview and pick the space that matches what you want to practice. Rail-heavy parks teach dual-stick foot placement; vert and pools teach pump, air grabs, and handplant timing covered in Tricks and Grinds.
If you prefer a structured difficulty ladder for moves themselves, bookmark Trick Difficulty after you can ride and grind without panic.
Common day-one mistakes
- Launching without a pad connected. Fix input before forming bad timing habits.
- Maxing difficulty immediately. Learn stick language on a kinder setting, then raise it.
- Treating challenges like a checklist rush. Batches exist to teach map literacy; replaying earlier ones is intended.
- Ignoring FPS. Sub-60 play makes dual-stick skating feel mushier than it is.
- Skipping the overview context. The Game Overview and Early Access Launch pages explain what is and is not in the build so you do not expect multiplayer or a finished map roster overnight.
Suggested path after this page
Read Controls the same day. Practice one night on free rides only. The next session, add Tricks and Grinds drills, then open challenges with intention. Keep Guides Hub bookmarked as the index when new Early Access pages appear.
You do not need to master handplants on hour one. You need stable riding, trustworthy jump timing, and one grind family you trust. Everything stylish in Rollout Inline grows from that base.
Frequently Asked Questions
Quick answers for aggressive inline players.
Can I play Rollout Inline with keyboard and mouse?
No. A controller is required. See Controller Setup for Xbox and PlayStation pad tips.
What should I unlock first?
Focus on clearing easy challenge batches to level your first map. Clothing comes from progression; skates are customizable anytime via Character and Skates.
How many maps can I access on day one?
Three maps are available at Early Access launch. Compare their features in Maps Overview.
Is Steam Deck supported?
Yes—Rollout Inline is Steam Deck Verified. Still connect controls properly and watch FPS; see System Requirements.
Where do I go after the tutorial hour?
Deepen stick skills in Controls, then learn linking in Tricks and Grinds.